Showing posts with label pastries. Show all posts

Monday, September 2, 2013

Strawberries And Cream Puffs


Pâte A Choux or Cream Puff Paste is used to make èclairs, cream puffs and profiteroles.  It's one of the easiest pastries to make and the end result is a light and tender crust with an interior that is soft, eggy with an almost custardy perfection!  Fillings can range from ice cream, pastry cream or a creamy seafood stew.  I filled my little pastries with a whipped cream lightened, cooked custard (pastry cream), and added sliced strawberries.  Call it a sophisticated Strawberry Shortcake! 

 Ingredients


For the Pastry Cream...

2 cups/500ml milk
1/2 vanilla bean, split lengthwise, or 1-1/2 teaspoon vanilla extract
1/2 cup/100g sugar
5 large egg yolks
3 tablespoons all purpose flour
3 tablespoons cornstarch
1 cup heavy cream
Strawberries 


For the Pâte A Choux...

1 cup/250 ml water
1 cup/250 ml milk
1 teaspoon salt
1 teaspoon sugar
1-3/4 sticks unsalted butter (200g) cut in pieces
1-2/3 cups/235g all purpose flour
6-7 large eggs
optional: 
2 tablespoons chopped sliced or slivered almonds and 2 tablespoons course sugar mixed together in a small bowl

Preheat oven to 425°
makes 12-24 puffs depending on size.

Note:  Shells may be frozen for up to a month.  Recipe may be cut in half or doubled with out any problem.

1.  For the pastry cream, combine the milk, the vanilla bean and about half the sugar in a large heavy saucepan over medium heat and bring to a boil.  Meanwhile in a mixing bowl, combine the egg yolks and the remaining sugar and whisk vigorously until the yolks are a pale color, about 5 minutes.  Sift the flour and cornstarch into the yolk mixture and blend together thoroughly.

2.  Gradually pour the hot milk into the yolk mixture in a slow stream, mixing gently until blended.  Return the mixture to the saucepan and and bring to a boil over medium heat, stirring constantly with a whisk.  Boil and whisk vigorously for 2 minutes, strain the cream into a mixing bowl, if you are using vanilla extract, add it now, stir to blend.  Pour the custard into a clean bowl and place a piece of plastic wrap directly on to the cream, to prevent the formation of a skin.  Refrigerate for 2 hours until completely cooled.


3.  When the pastry cream has cooled, and your ready to fill your cream puffs, whip the heavy cream in a mixing bowl until stiff peaks form.  Gently fold into the cold pastry cream by hand, using a rubber spatula until well incorporated.


 ♥♥♥♥♥♥♥♥

1.  For the pastry, in a large heavy saucepan, combine the water, milk, salt, sugar and butter.  Bring to a boil over medium-high heat stirring to melt the butter. 

2.  Sift the flour onto a piece of parchment paper.  Remove the pan from the heat and add the flour all at once, stir quickly with a wooden spoon to incorporate the flour.
Return the pan to medium heat and stir vigorously with the wooden spoon for 1 minute, until the mixture pulls away from the side of the pan.  

3.  Transfer the mixture to the bowl of an electric mixer.  Using the paddle attachment, add the first 5 eggs, one at a time, beating on medium speed, incorporating the eggs until a nicely smooth dough is achieved.  After the fifth egg, beat the last 2 eggs one at a time using only as much as you need so that when the mixture is lifted with a spoon, a peak stands up, then drops over slightly. 


 4.  While the dough is still warm, scoop the dough onto a parchment lined baking sheet. At this point, you can sprinkle the almonds and sugar mix, lightly over the top of the puffs, (love the added crunch) or leave them plain if you like. 


5.  Bake in the preheated oven for 20-30 minutes or until puffed and golden brown on top.  Remove from pan and cool completely on a wire rack before filling.

 To fill the cream puffs...

Split the puffs gently in half horizontally with a serrated knife.  Place a layer of sliced strawberries on the bottom half of the puff.  Spoon a generous amount of pastry cream over strawberries and lightly set the top half onto the cream.  Dust lightly with confectioners sugar, or swizzle melted chocolate over the top if you like.  Enjoy!


Friday, May 24, 2013

Rhubarb Filled Ginger Shortbread


I've been wanting to feature these shortbreads since I started thinking about recipe blogging and waiting in anticipation for those little green rhubarb sprouts to come shooting through the ground.  When we moved to this old farm house 13 years ago, I was happy to find a beautiful patch of rhubarb growing near the stone foundation behind the barn.  Who knows how long this sturdy plant has been thriving in this warm and sunny location.  The long wait is finally here, my rhubarb is ready to be cut and this recipe is ready to be revealed.  The inspiration for my Rhubarb Filled Ginger Shortbread, came from Julia Child's  Baking with Julia  Her recipe for Hungarian Shortbread is what started it all.  This recipe requires a little arm muscle, I hope your up for it!

 Ingredients

For the filling...

1 lbs. fresh rhubarb cut into 1" pieces
1/2 cup sugar
1/2 cup of water
grated peel of 1 lemon 

1.   Place the rhubarb, sugar and water in a medium sized saucepan.  Bring to a simmer over medium heat, and cook stirring often, until the rhubarb softens and the rhubarb seems to melt.  Continue cooking until some of the juices evaporate about 10 minutes.  Remove the pan from the heat, stir in the lemon zest and cool completely. 


For the shortbread...

4 cups all purpose flour
2 teaspoons baking powder
1/4 teaspoon salt
4 sticks (1 pound) unsalted butter, room temperature
4 large egg yolks
2 cups sugar
1/3 cup crystallized ginger, very finely minced
confectioners sugar, for dusting

1.   Whisk the flour, baking powder and salt together in a bowl and set aside.

2.   In a mixing bowl fitted with a paddle attachment, beat the butter on high speed until it is pale in color and fluffy.  Add the egg yolks and sugar and beat until the mixture is light and fluffy.  Reduce the speed to low, add the crystallized ginger and mix in well.  Add the dry ingredients, mixing only until the ingredients are incorporated.


3.   Turn the dough out onto a work surface and gather it into a ball.  Cut in half and shape each half into a short fat log.  Wrap each half in plastic wrap and place in the freezer for 30-40 minutes.


 4.   Set oven temperature to 350°.  Grease a 9X12 inch baking pan with butter.  Remove one of the logs from the freezer, and using the side of a box grater with the largest holes, (now mind you this is where it gets fun) grate the dough onto a piece of parchment paper.  This technique is unusual but results in a light textured buttery shortbread. 
Turn out the grated dough into the greased baking pan and gently spread the dough throughout the pan evenly.  Don't press on the dough, you want to keep it light.

5.   Spoon the cooled rhubarb evenly over the top of the dough.  Grate the remaining dough and distribute evenly over the rhubarb.  


6.   Bake the shortbread for about 40 to 45 minutes or until golden brown.  Remove from oven and cool completely on a wire rack.  Dust heavily with confectioners sugar.  Cut into 12 or 24 pieces.  
 
By now your arms have recovered from all that grating, you can sit down with a nice hot cup of tea, and contemplate your workout while enjoying your Rhubarb Filled Ginger ShortbreadEnjoy! 


Friday, May 10, 2013

Hazelnut and Bittersweet Chocolate Truffle Tart

Happy Mother's Day Mom, this ones for you!


In my little patch of Maine, this weekend finds me awash in lush greens and golds.  Forsythia's in brilliant yellow and happy daffodil's coming up thru last years fallen leaves.  This is my favorite time of year, when the new green leaves come bursting out, filling in the browns of winter.  It's also Mother's day weekend and I know my Mom spent this sunny day outside in her own gardens, her favorite place to be this time of year.  
My Mom has a real penchant for chocolate and I have a Mother's Day treat for her.  Hazelnut and Bittersweet Chocolate Truffle Tart.  This tart has a buttery hazelnut crust with a touch of espresso and a lush and very creamy dark chocolate truffle filling.
Enjoy Mom, you deserve it!!
 Hazelnut and Bittersweet Chocolate Truffle Tart


Ingredients
For the crust...
1/2 cup hazelnuts, toasted and skinned
1/2 cup unsalted butter, room temperature
1/3 cup powdered sugar
1 teaspoon espresso powder dissolves in 1 teaspoon hot water
1 large egg yolk
1 1/4 cup all purpose flour
1/4 teaspoon fine sea salt
For the filling...
10 oz. bittersweet chocolate, cut into small pieces
1 1/2 cup heavy cream
Note:  This recipe uses a 9 1/2" tart pan, however for this post I chose to use my 4X14" rectangular tart pan.  There will be about a half cup of filling left over which will be chilled and piped as a border of rosettes on the 2 long sides of the tart.
1.   To toast hazelnuts, preheat oven to 375° and bake for 10 minutes.  Remove from oven and dump nuts into the middle of a cloth dish towel grab the corners of the towel to bundle it up, and rub the nuts vigorously against each other inside the towel for quite a while, until most of the skin comes off. All of it will not come off, but you can get them fairly clean.

2.   Finely grind the hazelnuts in a food processor.  using an electric mixer, beat the butter until light and add the powdered sugar and beat until well blended.  Add egg yolk and espresso and beat until smooth.  Beat in hazelnuts then flour and salt mix until combined.


Gather dough together and form into a ball, flatten slightly and wrap with plastic wrap.  Chill in refrigerator for 20 minutes.
3.   Lightly flour your work table and roll out dough about 2" larger than your pan.  Transfer the dough to your tart pan as carefully as you can, don't worry if you tear the dough, you can patch it up, trim excess dough from rim of pan and if you need to, use it to patch any holes, it's all good!  Chill in the refrigerator for 20 minutes.


4.   Bake in a 350° oven for 20 minutes, prick with a fork should crust bubble up, continue to bake about 5 more minutes until set and a light golden color.  Let cool completely on a wire rack.

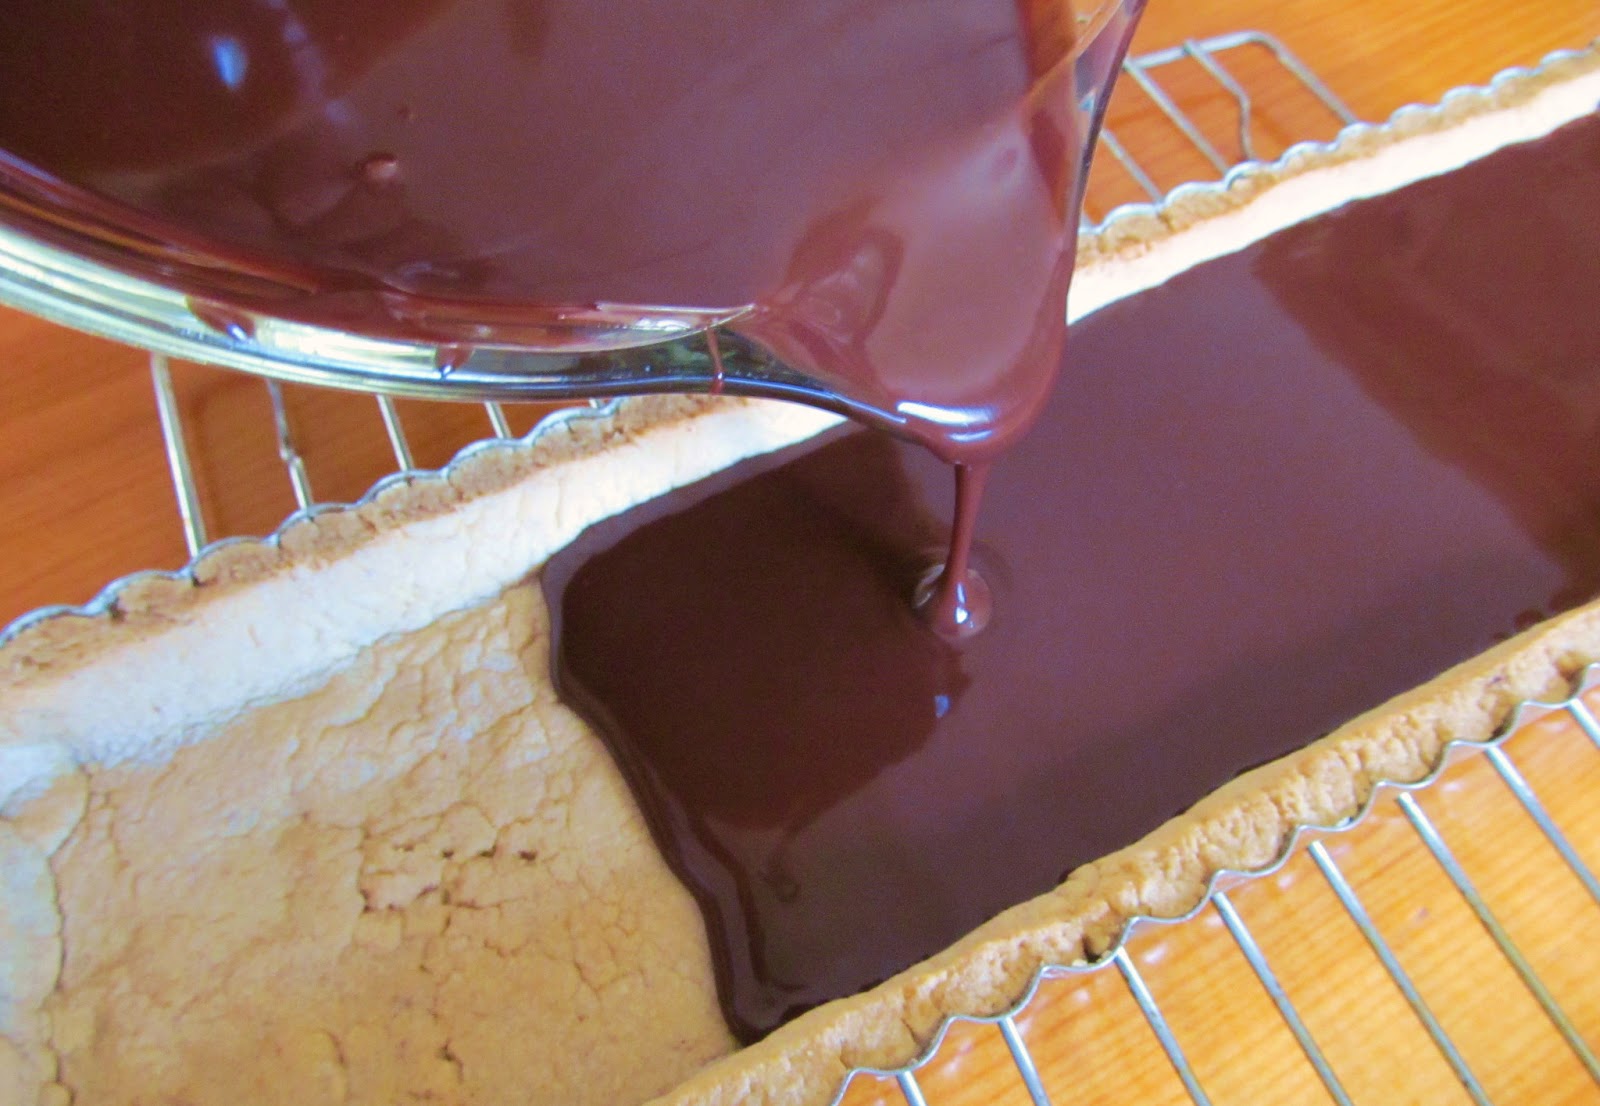
 5.   Place chocolate in a medium size heat proof bowl, and set aside. In a small sauce pan bring heavy cream to a simmer over medium heat.  Immediately pour over chocolate and allow to stand for a minute.  With a wire whisk stir gently until chocolate dissolves. 


Pour chocolate mixture through a strainer into a medium bowl and then pour into tart shell  being careful to not create air bubbles.  Refrigerate for 2 to 3 hours.  Decorate as desired with white chocolate drizzle and hazelnuts.  Enjoy!


For more yummy recipes click the links below!

Lavender and Lovage

The Hedge Combers